If you came here to ask me how to do something your out of luck.
What I will do is provide the directions I found helpful and links to applicable files so that you can get started too.
If you received your Beagleboard XM with only the board and SD card then you will need to get the rest of your hardware together before proceeding, power, keyboard, mouse, DVI cable, etc..
My first power supply for the board was a plug from USB powered plasma ball (you may have one from a usb gadget), it had a usb connector on one end and the proper power connector for the board on the other end. I plugged the USB end into the usb hub built into my monitor and the other end into the board and I was set. I soon ran into problems, every time I switched video inputs with the buttons on my monitor I would accidentally hit the power button and kill the power to the Beagleboard, I needed to change my power plans.
I was able to find a wall wart power supply that was previously used by an old electronic component that I didn't use any more the specs read 5v 2000ma but after testing with a meter it was actually 5.4v and would over volt the board. I did some searching on the net and found that I could try putting a resistor in the line to the connector and bring the voltage down to within specs lucky for me that did the trick a free and available power supply and a 50 cent resistor and I was up and running. So look around you may have a power source laying around waiting to be used instead of going to the land fill.
What, no Windows?
The demo image that came with the board loaded up that wonderful text base version of an operating system that I was not too familiar with and I wanted a GUI (graphical user interface) I could check out to play around with my new board. I had seen lots of video demos on YouTube of XBMC, Ubuntu, Angstrom to name a few. Now I was on the hunt for at least one of those. I was able to find an Angstrom build complete with a GUI here: http://code.google.com/p/beagleboard/wiki/BeagleBoardDiagnosticsNext
along with instructions on how to get it up and running on a Windows or Linux computer.
If you don't have a Linux computer to develop on you might want to set one up dual boot or on a separate hard drive if you're are afraid to mess up your Windows computer.
Another option is: http://www.linuxliveusb.com/ althhttp://www.linuxliveusb.com/ough I have not tried it yet.
The upcoming (still in development) release for Ubuntu Maverick 10.10 has a nice UI that would be suitable for a front-end for a Car PC.
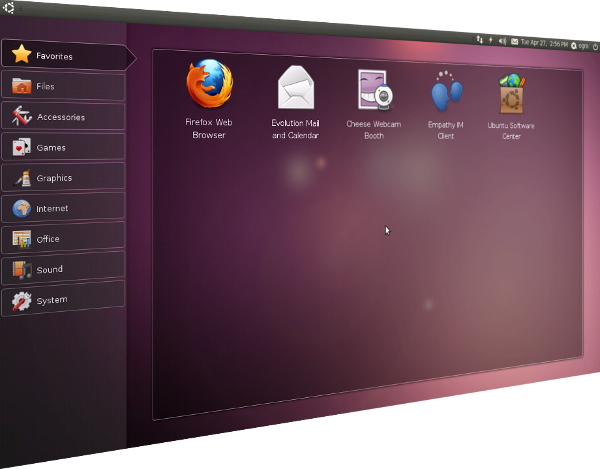
For Ubuntu Netbook Maverick 10.10
If you're on a Linux computer then you may want to follow these instructions.
>> Download http://cdimage.ubuntu.com/ubuntu-netbook/ports/releases/maverick/release/ubuntu-netbook-10.10-preinstalled-netbook-armel+omap.img.gz
From: http://cdimage.ubuntu.com/ubuntu-netbook/ports/daily-preinstalled/
>>Start terminal, navigate to the folder where you downloaded the file and decompress the file with gunzip; this generates a file called: ubuntu-netbook-10.10-preinstalled-netbook-armel+omap.img
Example: sudo gunzip /(directory where you downloaded file)/ubuntu-netbook-10.10-preinstalled-netbook-armel+omap.img.gz
In my case it was in my "home" directory so this is the command I used:
sudo gunzip ubuntu-netbook-10.10-preinstalled-netbook-armel+omap.img.gz
>> Next insert your SD card and run df -h, look for and verify your SD card (mine was sdc1) or if you are running Ubuntu you can go to: System>Administration>Disk Utility and run it
Be sure to substitue your sd-card device directory (from above) for /dev/sdX below without the number at the end.
>> Then run: dd if=./ubuntu-netbook-10.10-preinstalled-netbook-armel+omap.img of=/dev/sdX
or Install and use Ubuntu Image Writer (GUI application)